
Deep Drop Electronics Setup: Fish Finder + Transducer + Power
Disclosure: DeepDropFishing.com is reader-supported. When you buy through links on our site, we may earn a commission at no extra cost to you. We only recommend gear we would rig ourselves.
A deep drop electronics setup is not a fish finder with accessories bolted on. It is one system with three working parts: the fish finder decides what the sonar can do, the transducer decides how much of that ability reaches the bottom hundreds of feet down, and the power supply decides whether both run cleanly for a full day offshore. When a setup fails at depth, the cause is rarely the part anglers blame first — a powerful display cannot fix a transducer from the wrong class, and neither survives wiring that feeds it voltage drops and noise. This guide walks through each component in turn, so you can build the chain deliberately instead of discovering its weakest link 1,000 feet over a wreck. Rigging the rest of the outfit too? Our deep drop fishing gear and rigs guide covers the rods, reels, and terminal tackle that fish under this package.
Component 1: The Fish Finder — the Brain of the Setup
The head unit is where every buying conversation starts, and for deep drop work it has to answer three depth questions honestly before screen sizes and menus enter the discussion.
First, the head unit’s real sonar depth rating. Marketing depth numbers usually assume clean water, a perfect install, and the ideal transducer, so treat them as a ceiling rather than a guarantee. Look for a maker-rated sonar depth that clearly covers your deepest regular water with headroom to spare. If you routinely fish at 800 feet, a unit rated to around 1,000 feet leaves little margin, and performance can fade before the number on the box does. For the full picture on how makers reach those numbers, see our guide to how deep a fish finder can read.
Second, the sonar frequencies and imaging it can actually drive. Low frequencies reach deeper, higher frequencies resolve detail, and the head unit has to support the frequency band your transducer uses. A wide-band CHIRP head unit paired with a narrow-band transducer wastes the unit’s advantage, while a budget head unit bolted to a high-end transducer cannot unlock it. When in doubt, match the head unit to the transducer you plan to run, not the other way around.
Third, the output power class of the head unit. Power classes are best understood as ceilings — what the head unit can send — and deep water punishes underpowered ceilings quickly. The unit does not need the biggest number on the market, but it does need enough transmit power to support the transducer and depth you intend to fish.
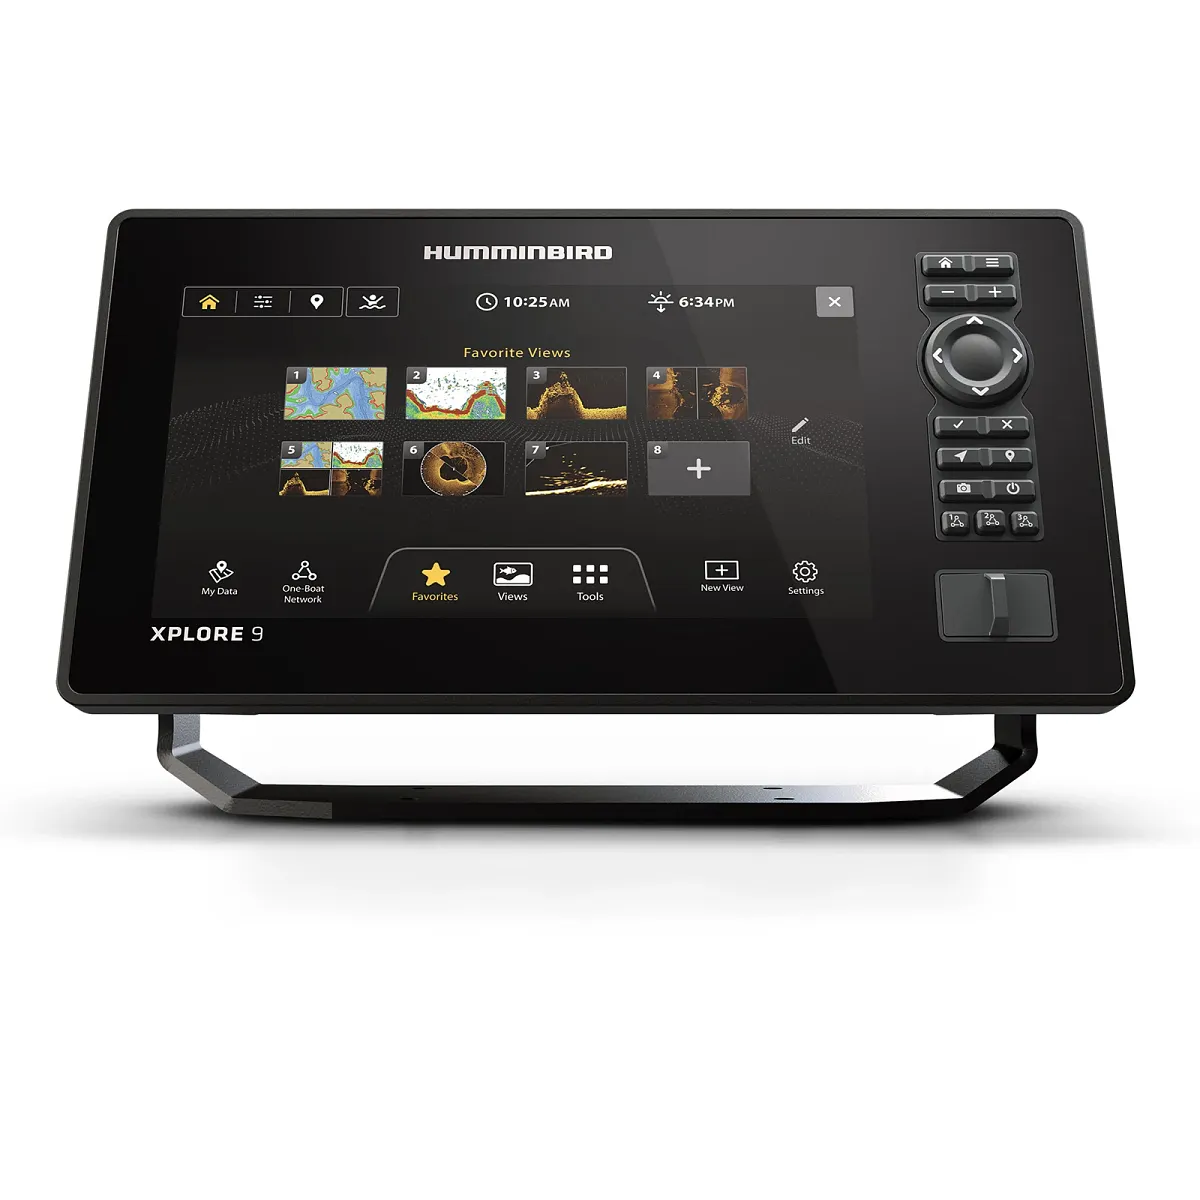
Two reference points show the range at this level. At the top of our current coverage is the Humminbird XPLORE 9, which pairs a wide, high-resolution display with high-output sonar and the deep-drop-oriented frequencies serious offshore anglers ask for. We cover it in full in our Humminbird XPLORE 9 review.
At the value end sits the Garmin STRIKER Vivid 7sv, a smaller, easier-to-rig unit that makes sense when budgets are tighter or depths are more moderate. Its value depends heavily on the transducer it is paired with, which is why the next section matters as much as the display itself. See the full breakdown in our Garmin STRIKER Vivid 7sv review.
Screen size follows those three answers, not the other way around. A bigger screen helps split views and read detail at a distance, but it cannot rescue a head unit whose sonar depth rating, frequency support, or power class is wrong for the water. Waypoint storage and mapping also matter more offshore than they do inshore, because deep spots are fewer, farther apart, and harder to relocate without a solid position.
Component 2: The Transducer — Where Depth Is Won or Lost
If the head unit is the brain, the transducer is the hand that actually touches the water. For deep drop fishing it deserves more of the budget and more of the thinking than it usually gets.
The transducer decides the depth, not the display. A head unit rated to great depth cannot reach it through a transducer that loses signal, spreads its beam too wide, or was designed for shallow structure. That is why the depth conversation in our guide to the best transducer for deep drop fishing starts with the transducer class, not the screen.
Low frequency is the deep water friend. Lower frequencies travel farther and lose less energy on the way down and back, which is why deep work favors low-frequency, high-power options. Higher frequencies give crisper detail, but they fade faster, and at several hundred feet detail means nothing if the return never comes back.
Power and beam angle trade against each other. More transmit power helps the signal survive the round trip, while a narrower cone concentrates that power on a smaller patch of bottom. A wide cone covers more water but spreads energy thin, which is a poor trade when the bottom is a long way down. Deep setups usually accept a narrower view in exchange for a stronger, cleaner return.
Compatibility is a checklist item, not an assumption. Frequency band, power class, connector, and imaging support all have to line up between head unit and transducer. A mismatch anywhere in that chain can quietly cap performance even when both parts look impressive on their own. Check the maker’s compatibility tables before buying either end of the chain.
Mount class changes what the transducer can do. The mount decides how cleanly the transducer sees the water, how much turbulence it fights, and how it behaves at speed:
- Transom-mount — easiest to fit and adjust, but the most exposed to turbulence and spray.
- Thru-hull — the cleanest water and the best deep performance, at the cost of a hole in the hull and a more involved install.
- In-hull — no hull penetration and a protected install, but with some signal loss through the hull material and no direct water contact.
None of these is universally best. The right choice is the one that gives your transducer clean water on your hull, at your speeds, in the depths you actually fish.
Component 3: Power — the Part That Decides Whether the Rest Works
Power problems rarely announce themselves as power problems. They show up as a screen that fades at speed, a sonar picture full of noise, or a unit that resets when an electric reel starts drawing. Offshore, those symptoms are easy to blame on the finder or the transducer, but the wiring is usually where the chain breaks.
Size the battery for the whole boat, not the finder alone. The head unit’s draw is only part of the day’s load. Electric reels, pumps, lights, and other electronics all draw from the same reserve, and a battery that is adequate for the finder can still fall short once the full system is running. Add the loads together, add a reserve, and size from that total.
Decide deliberately between a dedicated battery and the house bank. A dedicated electronics battery isolates the finder from the surges and dips of other loads, and keeps the engine-start battery out of the equation entirely. Running from the house bank is simpler and cheaper, but it ties the finder’s clean power to everything else on the boat. Either choice can work — the mistake is drifting into one without weighing the trade-off.
Fuse every circuit near the source, to the maker’s spec. The fuse protects the wire, not just the device, so its rating and its position both matter. A fuse at the far end of a long run leaves the run itself unprotected, and a fuse rated too high protects nothing at all. Carry spares, because a blown fuse offshore is a small problem only if you can replace it.
Keep power runs short, direct, and correctly sized. Voltage drop grows with length and shrinks with wire size, so a long, thin run to a convenient battery is a recipe for a finder that sees less voltage than the battery holds. Route power directly where the maker intends it, size the wire for the run’s length and load, and keep connections clean, tight, and protected from corrosion.
Wiring It Together: Interference, Routing, and Testing
Good components still fail when their signals share space with noise. Transducer cables carry small, sensitive returns, so their routing matters as much as their connection.
- Keep transducer cables away from power and engine wiring. Parallel runs invite interference, so cross other cables at right angles where a crossing is unavoidable and keep separation where it is not.
- Secure cables without crushing them. Tight cable ties and sharp bends can damage a transducer cable over time, and damage shows up as intermittent noise long before it shows up as a break.
- Test with the whole system running. A sonar picture that looks clean at the dock can fill with noise once the engine, pumps, and electric reels are all drawing. Check the screen under real load, not just in the slip.
- Test in moderate water before the deep trip. A shakedown in water you can read easily reveals wiring and interference problems while they are still easy to fix, instead of on the day the deep spots matter most.
Full-Setup Checklist
Before calling the setup complete, run through the whole chain:
- Fish finder’s rated sonar depth covers your deepest regular spots, with headroom
- Head unit output power is in the class your depths demand
- Transducer class matches the depth: low-frequency, high-power, narrow-cone for deep water
- Transducer and finder confirmed compatible — band, power class, and imaging support check out
- Mount class chosen for the boat: transom, thru-hull, or in-hull, trade-offs accepted
- Waypoint storage and charts are sufficient for your offshore spots
- Battery capacity sized for the whole boat’s day, electric reels included, with reserve
- Dedicated vs house power decided on purpose; start battery protected
- Every circuit fused near the source, to the maker’s spec, with spare fuses aboard
- Power runs short, direct, correctly sized; connections clean and corrosion-free
- Transducer cable routed away from power and engine wiring
- Screen checked for noise with engine and gear running, not just at the dock
- Full system tested in moderate water before the first serious deep trip
Frequently Asked Questions
Why does my sonar picture get noisy at speed, but look fine at the dock?
Speed adds turbulence at the transducer and load on the electrical system, and both show up as noise. A transducer in turbulent water, a cable run alongside power wiring, or a supply that sags when other loads start can each produce a dirty picture that disappears at rest. Test at speed, with the full system running, and check mounting, cable routing, and power before blaming the head unit.
How deep can a typical deep drop fish finder actually read?
It depends on the head unit’s rated depth, the transducer class, and the water, so no single number covers every setup. Low-frequency, high-power transducers paired with head units rated well beyond the target depth read deepest. For a detailed breakdown of how makers arrive at their numbers, see how deep a fish finder can read.
Can I use a shallow-water transducer for deep drop fishing if the finder is powerful?
Not reliably. A powerful head unit cannot recover a signal that a shallow-water transducer never sends strongly enough or receives cleanly enough at depth. The transducer’s frequency, power class, and beam angle set the depth ceiling, so a deep setup needs a transducer built for that water. See our guide to the best transducer for deep drop fishing for the class to look for.
Should deep drop electronics run on a dedicated battery or the house bank?
Either can work, but the choice should be deliberate. A dedicated battery isolates the finder from other loads and protects the start battery, while the house bank is simpler and cheaper. Size the chosen source for the whole boat’s day, electric reels included, with reserve — and fuse every circuit near the source either way.
What frequency should I run for deep drop fishing?
Low frequencies reach deeper, so deep work generally favors the low end of a unit’s range, especially with a CHIRP transducer that sweeps a band rather than a single frequency. For the full explanation of how frequency affects depth and detail, see fish finder frequencies explained.
Build the Chain, Not Just the Screen
A deep drop setup rewards the angler who thinks in a chain. Choose the head unit for its real depth rating, frequency support, and power class; choose the transducer for the depth and water it will actually fish; and wire both to power that stays clean under the full load of the boat. Skimp on any one link and the other two cannot make up for it. Build all three deliberately, test them together in moderate water, and the electronics stop being a source of doubt on the deep spots — and start being the reason you find them. With the electronics sorted, complete the outfit with our deep drop fishing gear and rigs guide.